
Notes from my workbench: Hello again and welcome to my series of How Jewelry is Made, where I take you behind-the-scenes in my jewelry studio. Today I'll show you I made the March 2017 gift-of-the-month, the Pyramid necklaces. My inspiration for these Pyramid necklaces, like all my jewelry, is very personal. I created them as a way to process my emotions, to help channel my energy and bring me stability, strength and peace. We are going through a difficult time here in the U.S. and the best way I know to help is to create tiny sculptures that work as talismans to help keep us grounded. Regardless of where you stand, I created this necklace with the intention of bringing you peace and strength.

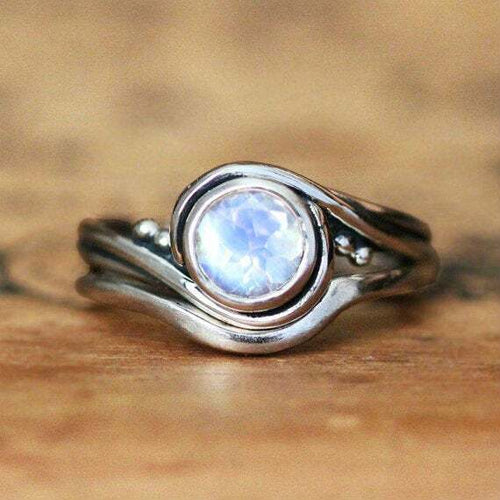
I hand carved this necklace to look like a natural earth-mined crystal that has a double pyramid shape. Each pointed end is called a termination and since this one has a point at both ends it's called a “double terminated” silver crystal. A crystal that has two termination points brings energy in as well as sending it out making it very powerful.

Since the double terminated crystal is a geometric shape and needs to have crisp facets I started with hard, green wax. Green wax holds details and will make filing the crisp facets easier. I use a block of wax a little larger than the size I want to make the finished piece. 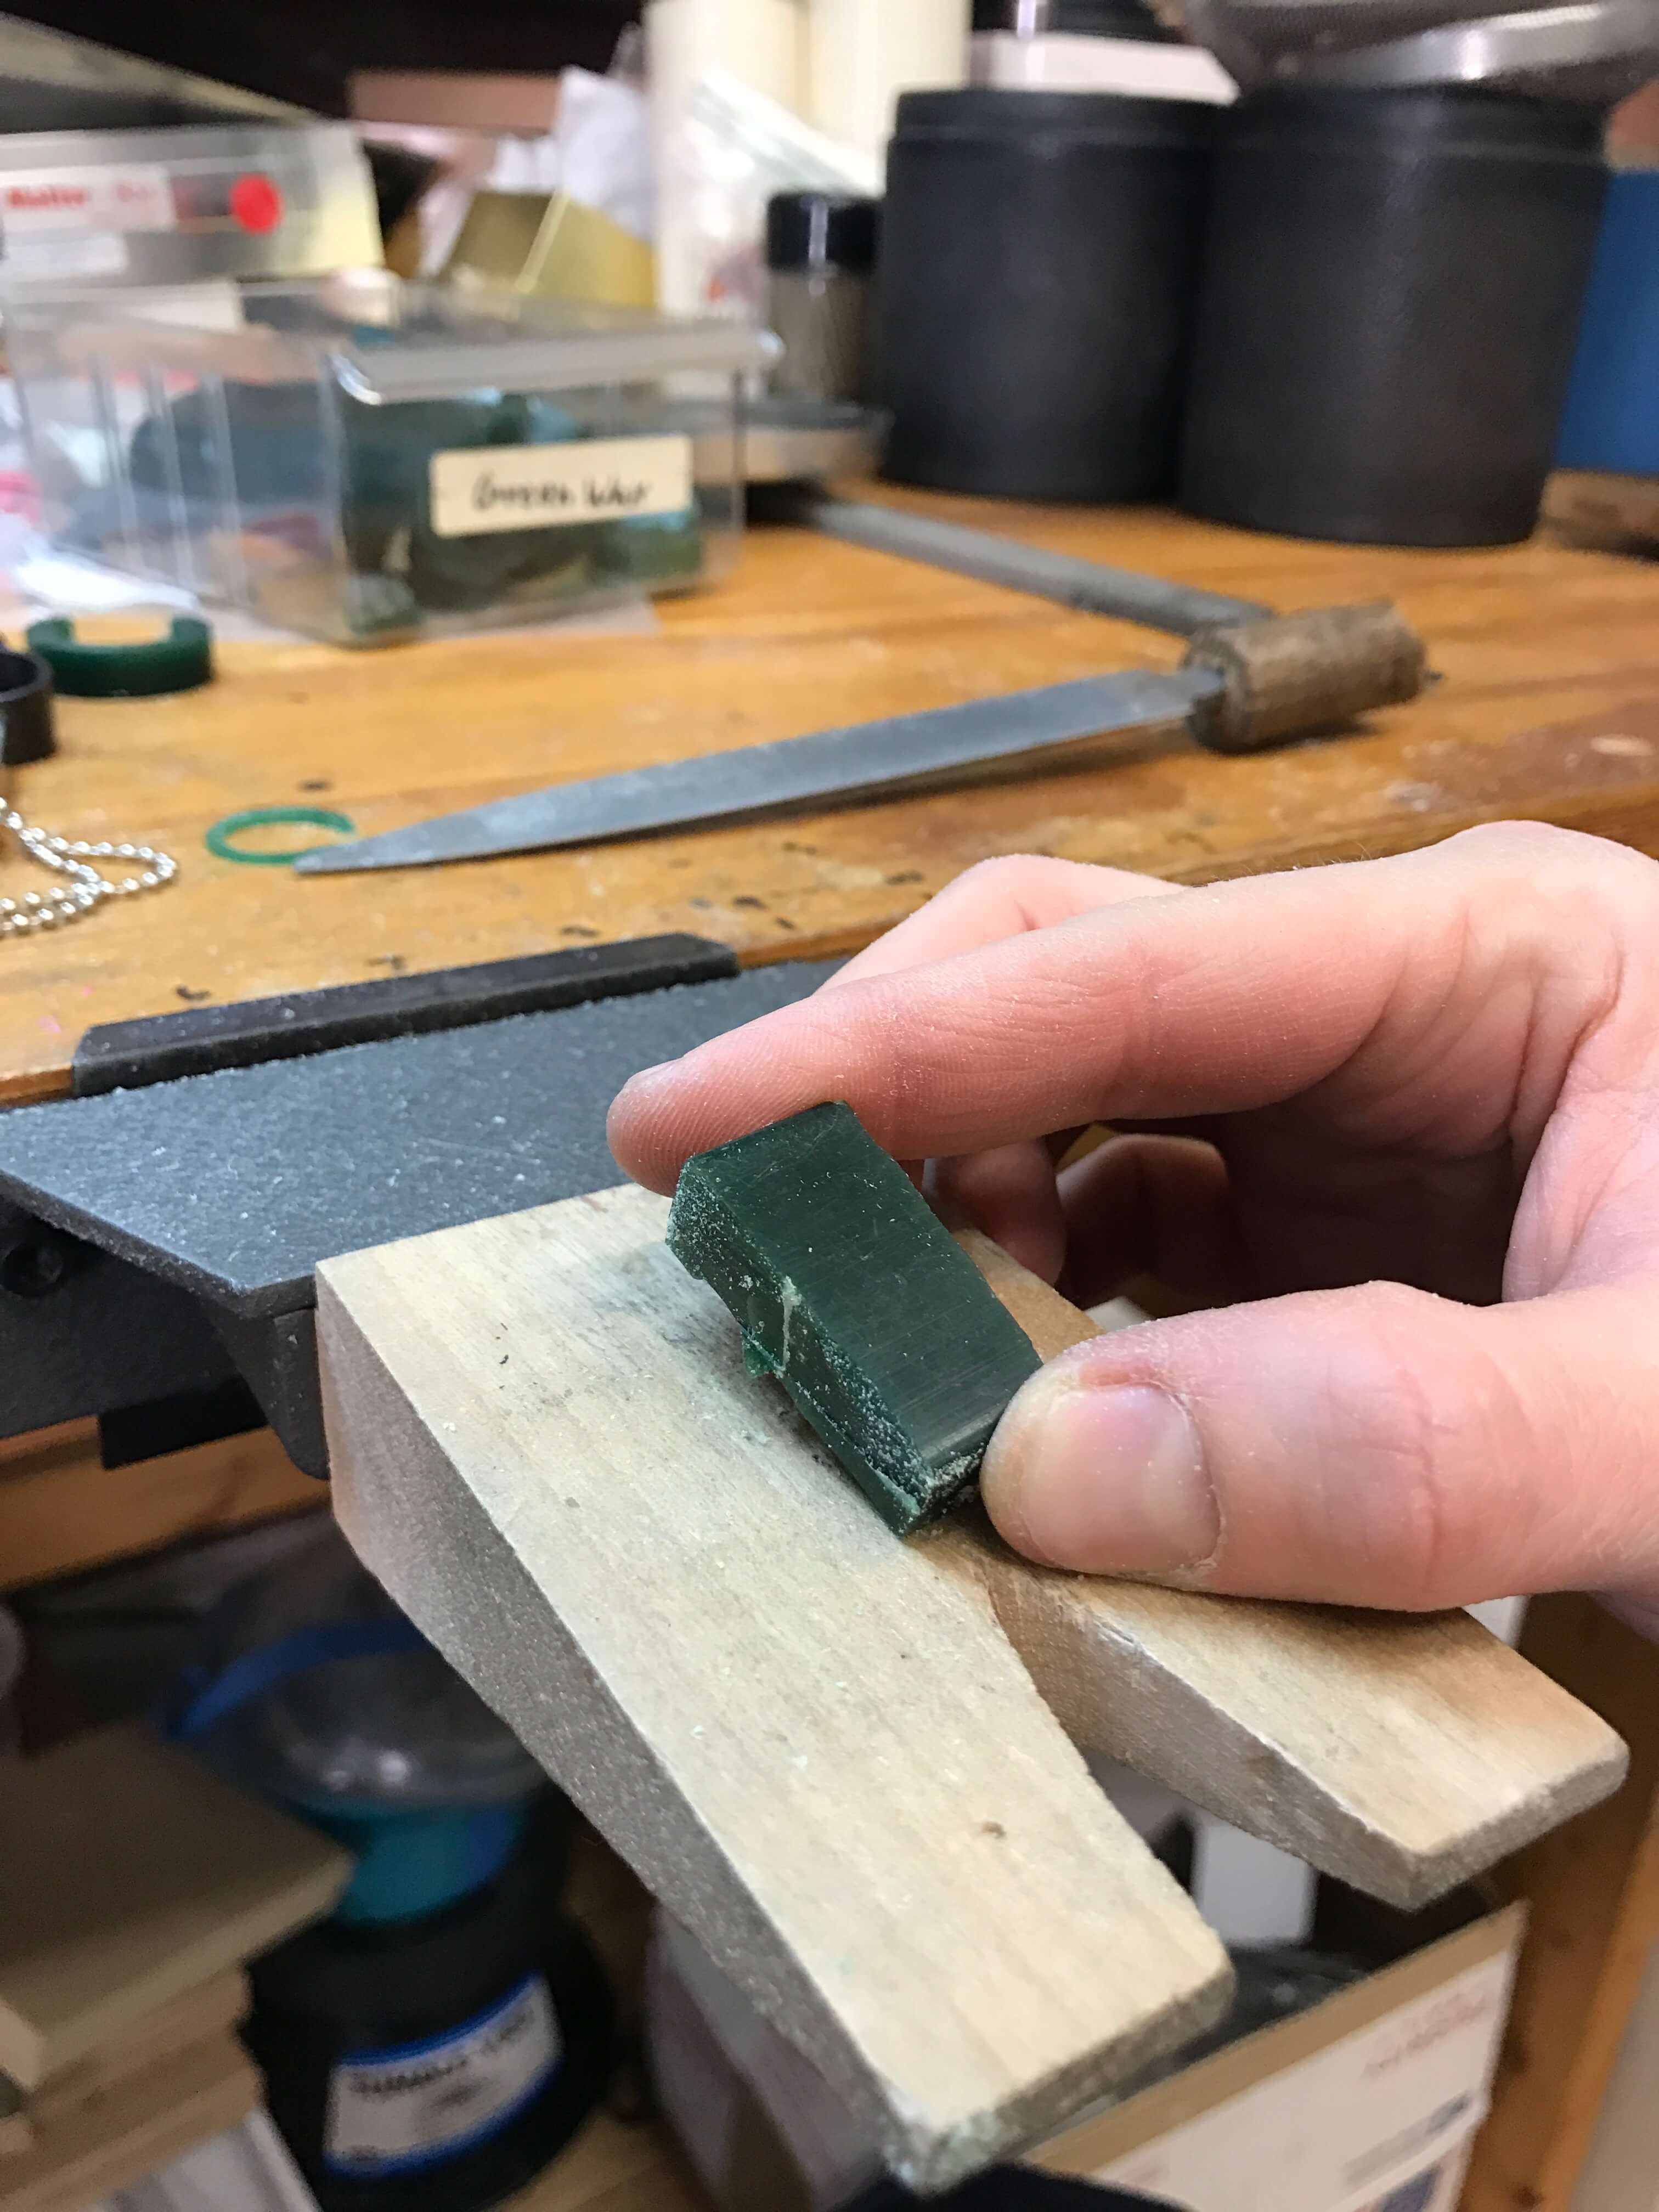
I had a larger version in brass that I made as a custom piece a few years ago and I used that for reference. Then I drew the shape free-hand onto the wax: 
The next step is to saw out the shape using my jeweler's saw: 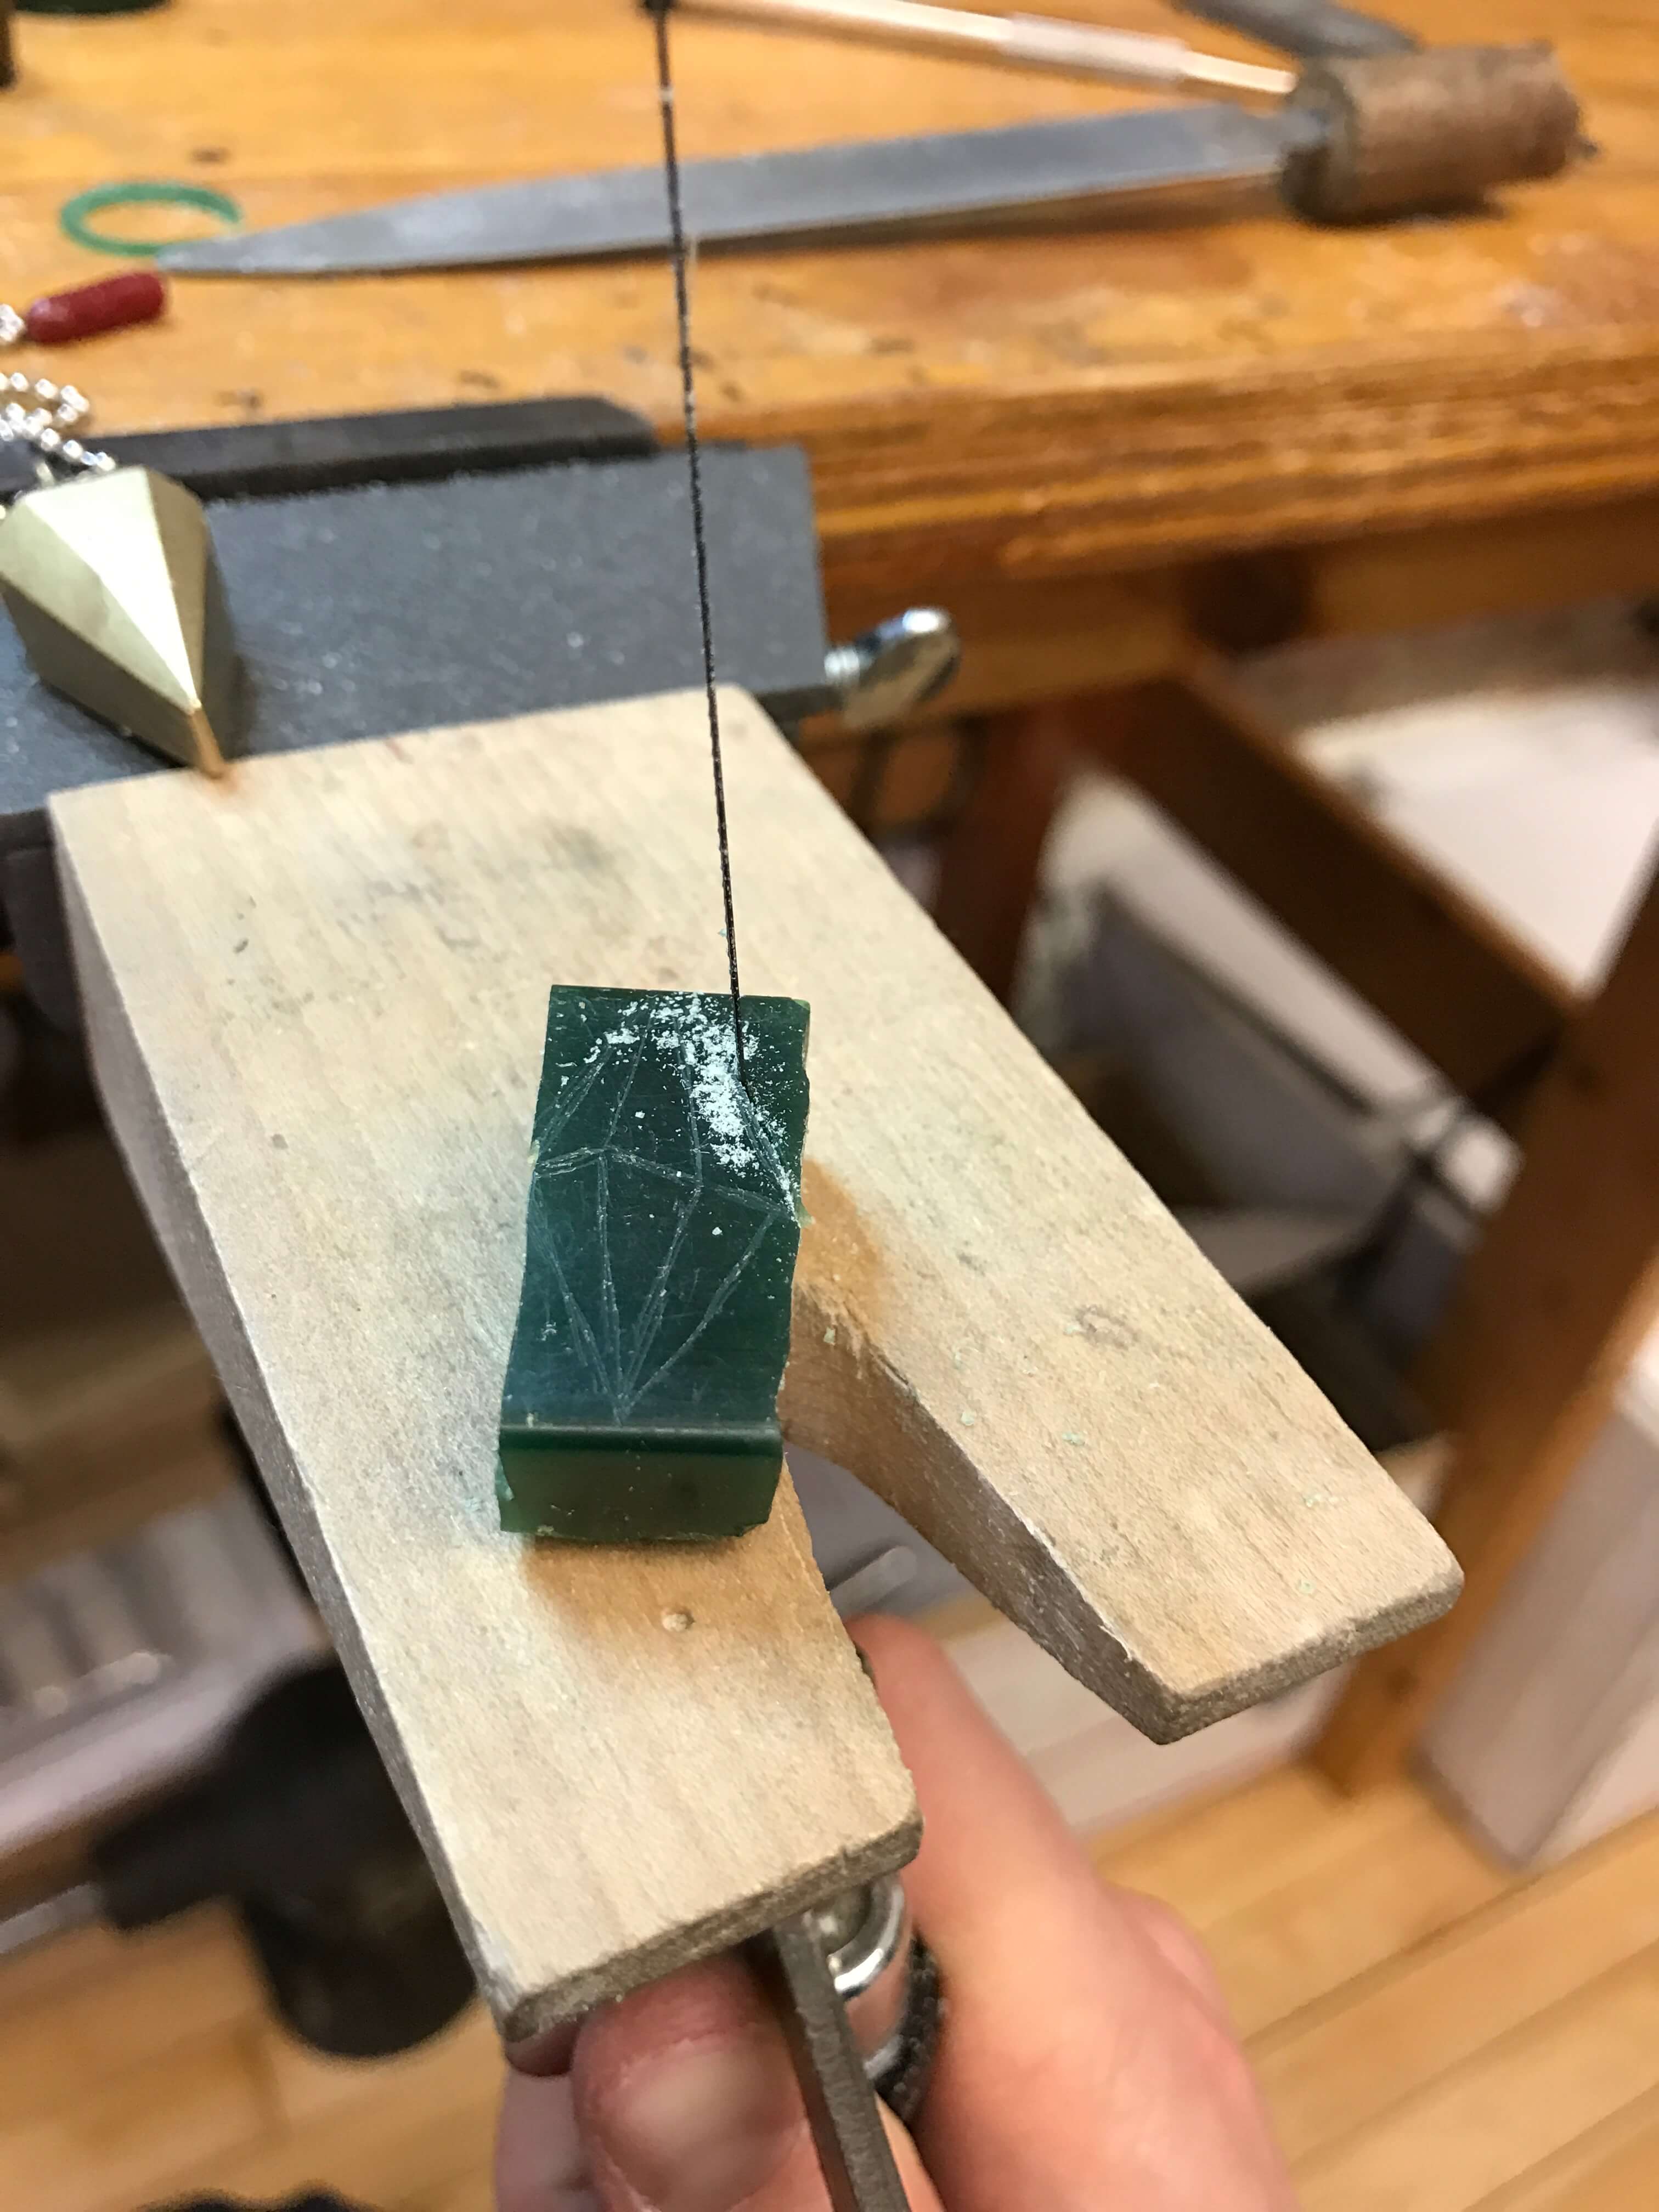
Then I used my favorite hand file to shape the wax into a more refined version of what I imagined the final piece would look like. This part took the longest to get it just right:
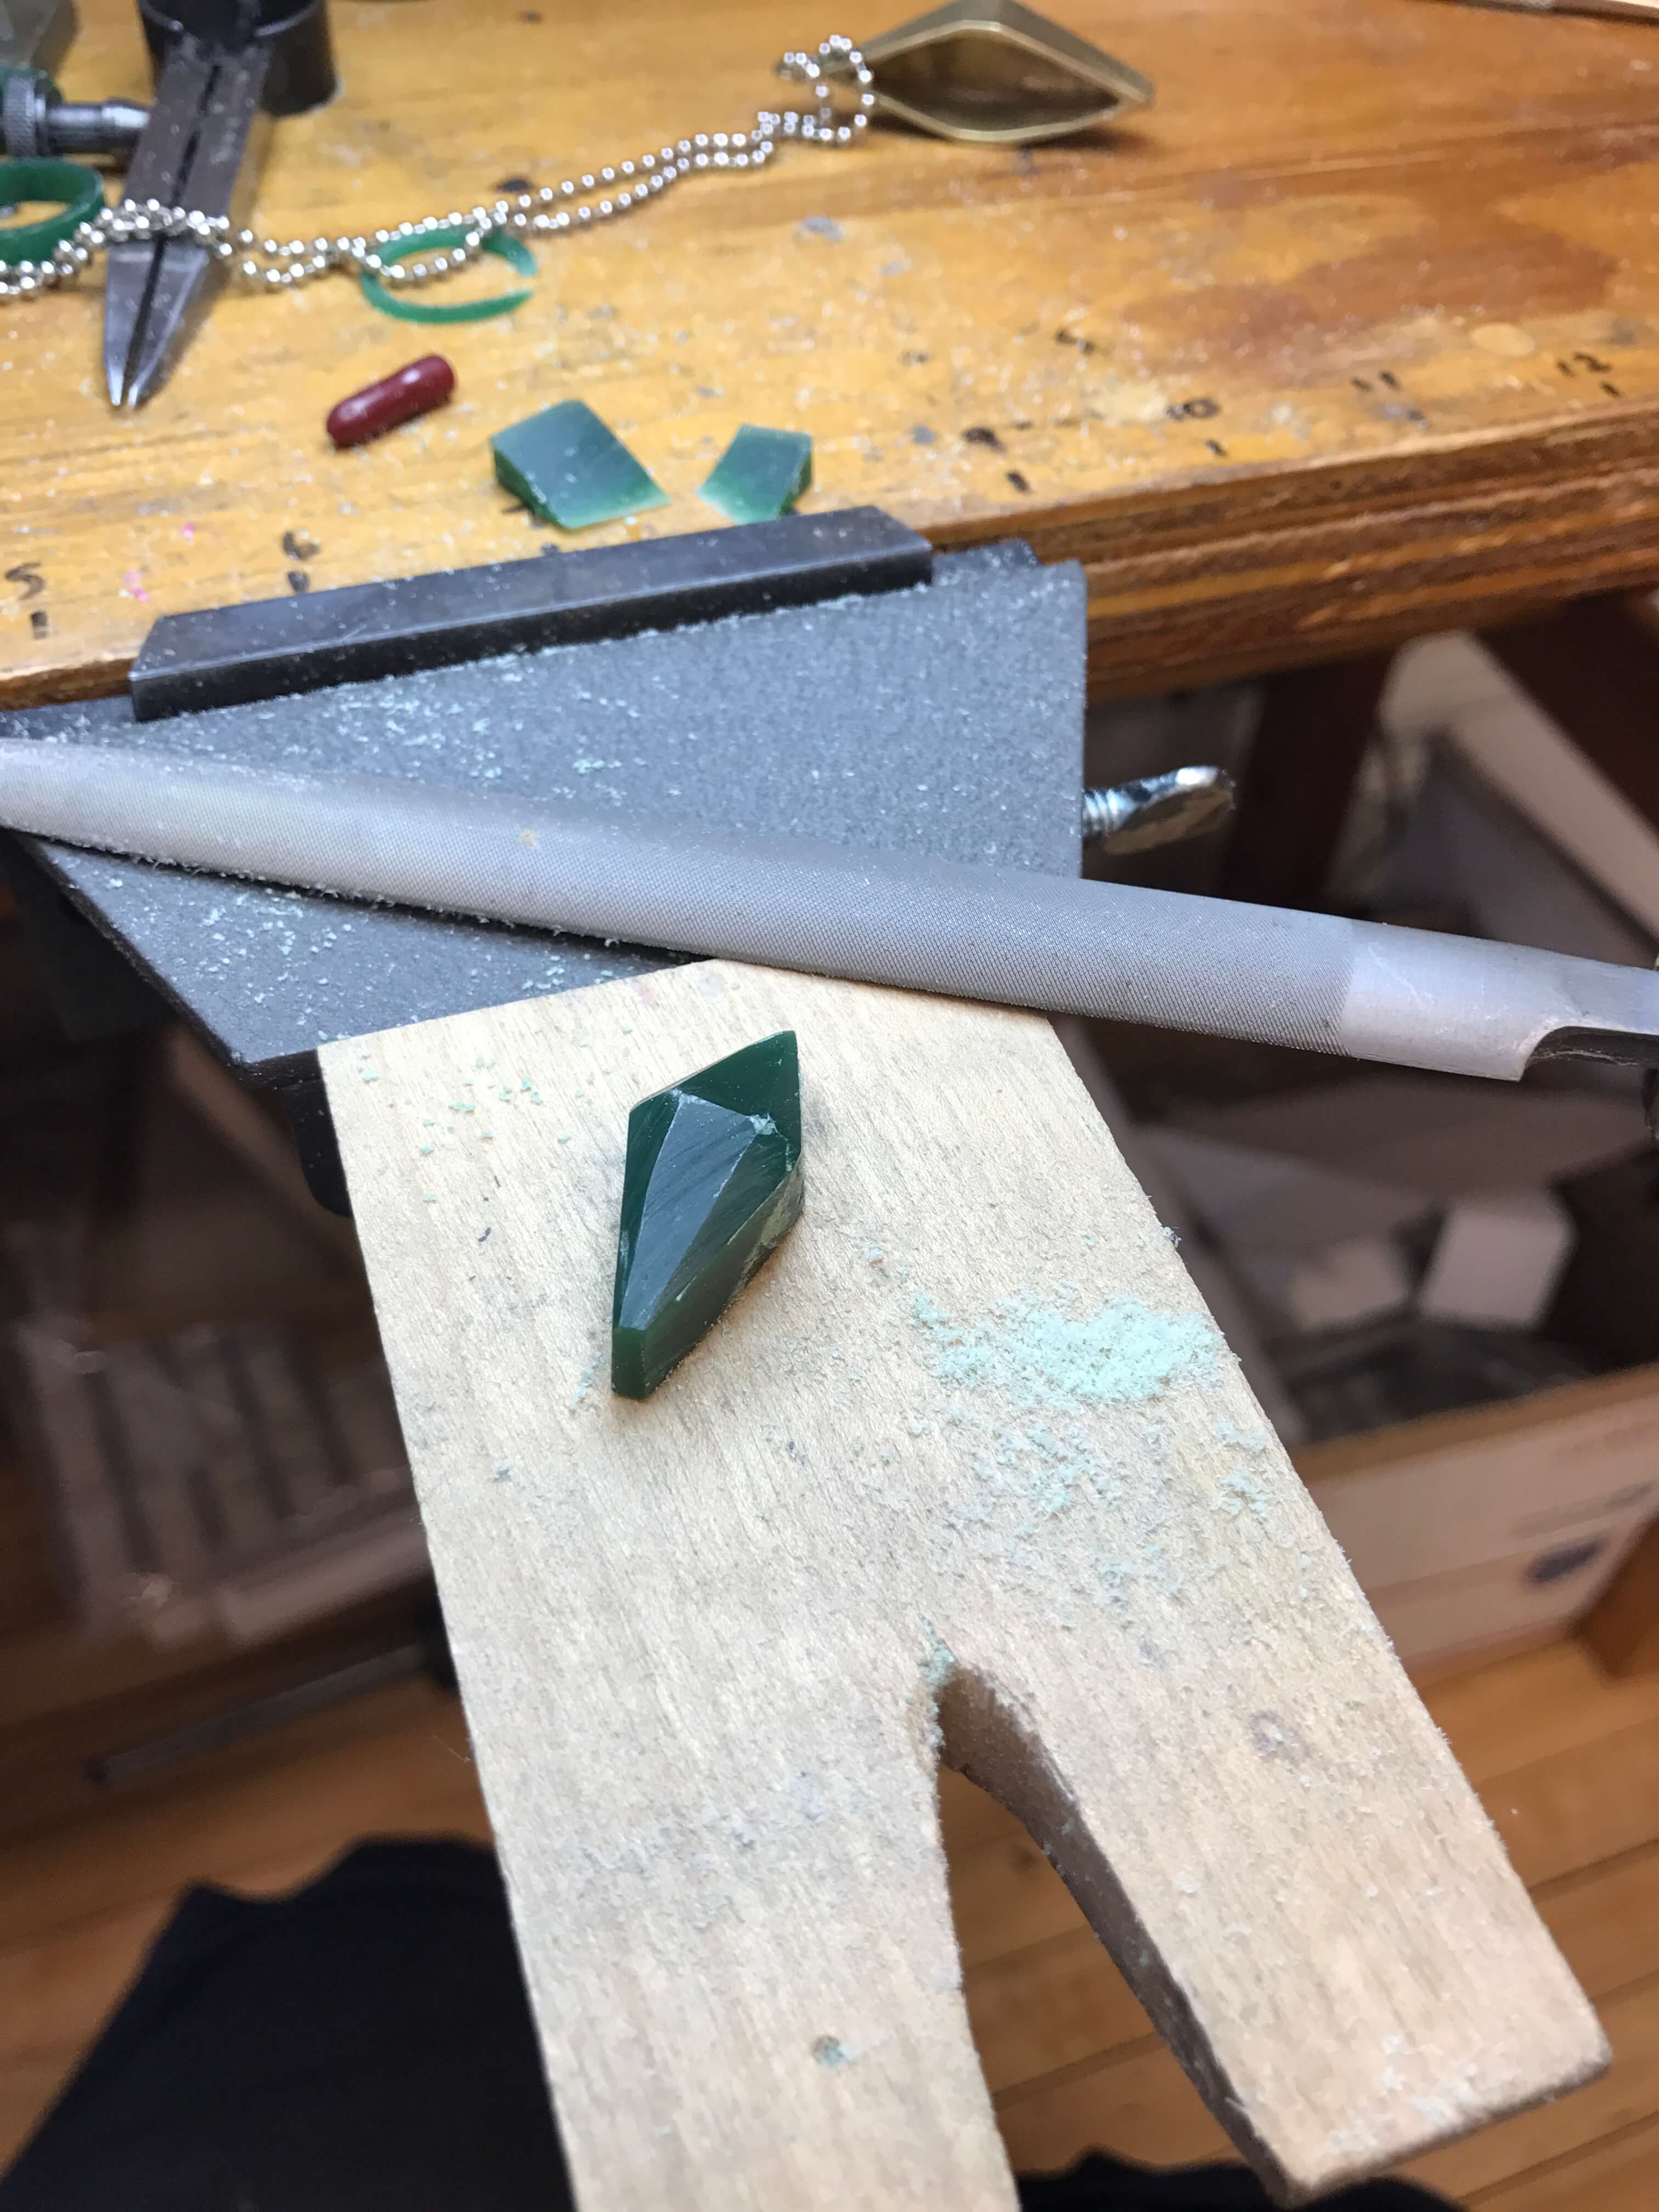
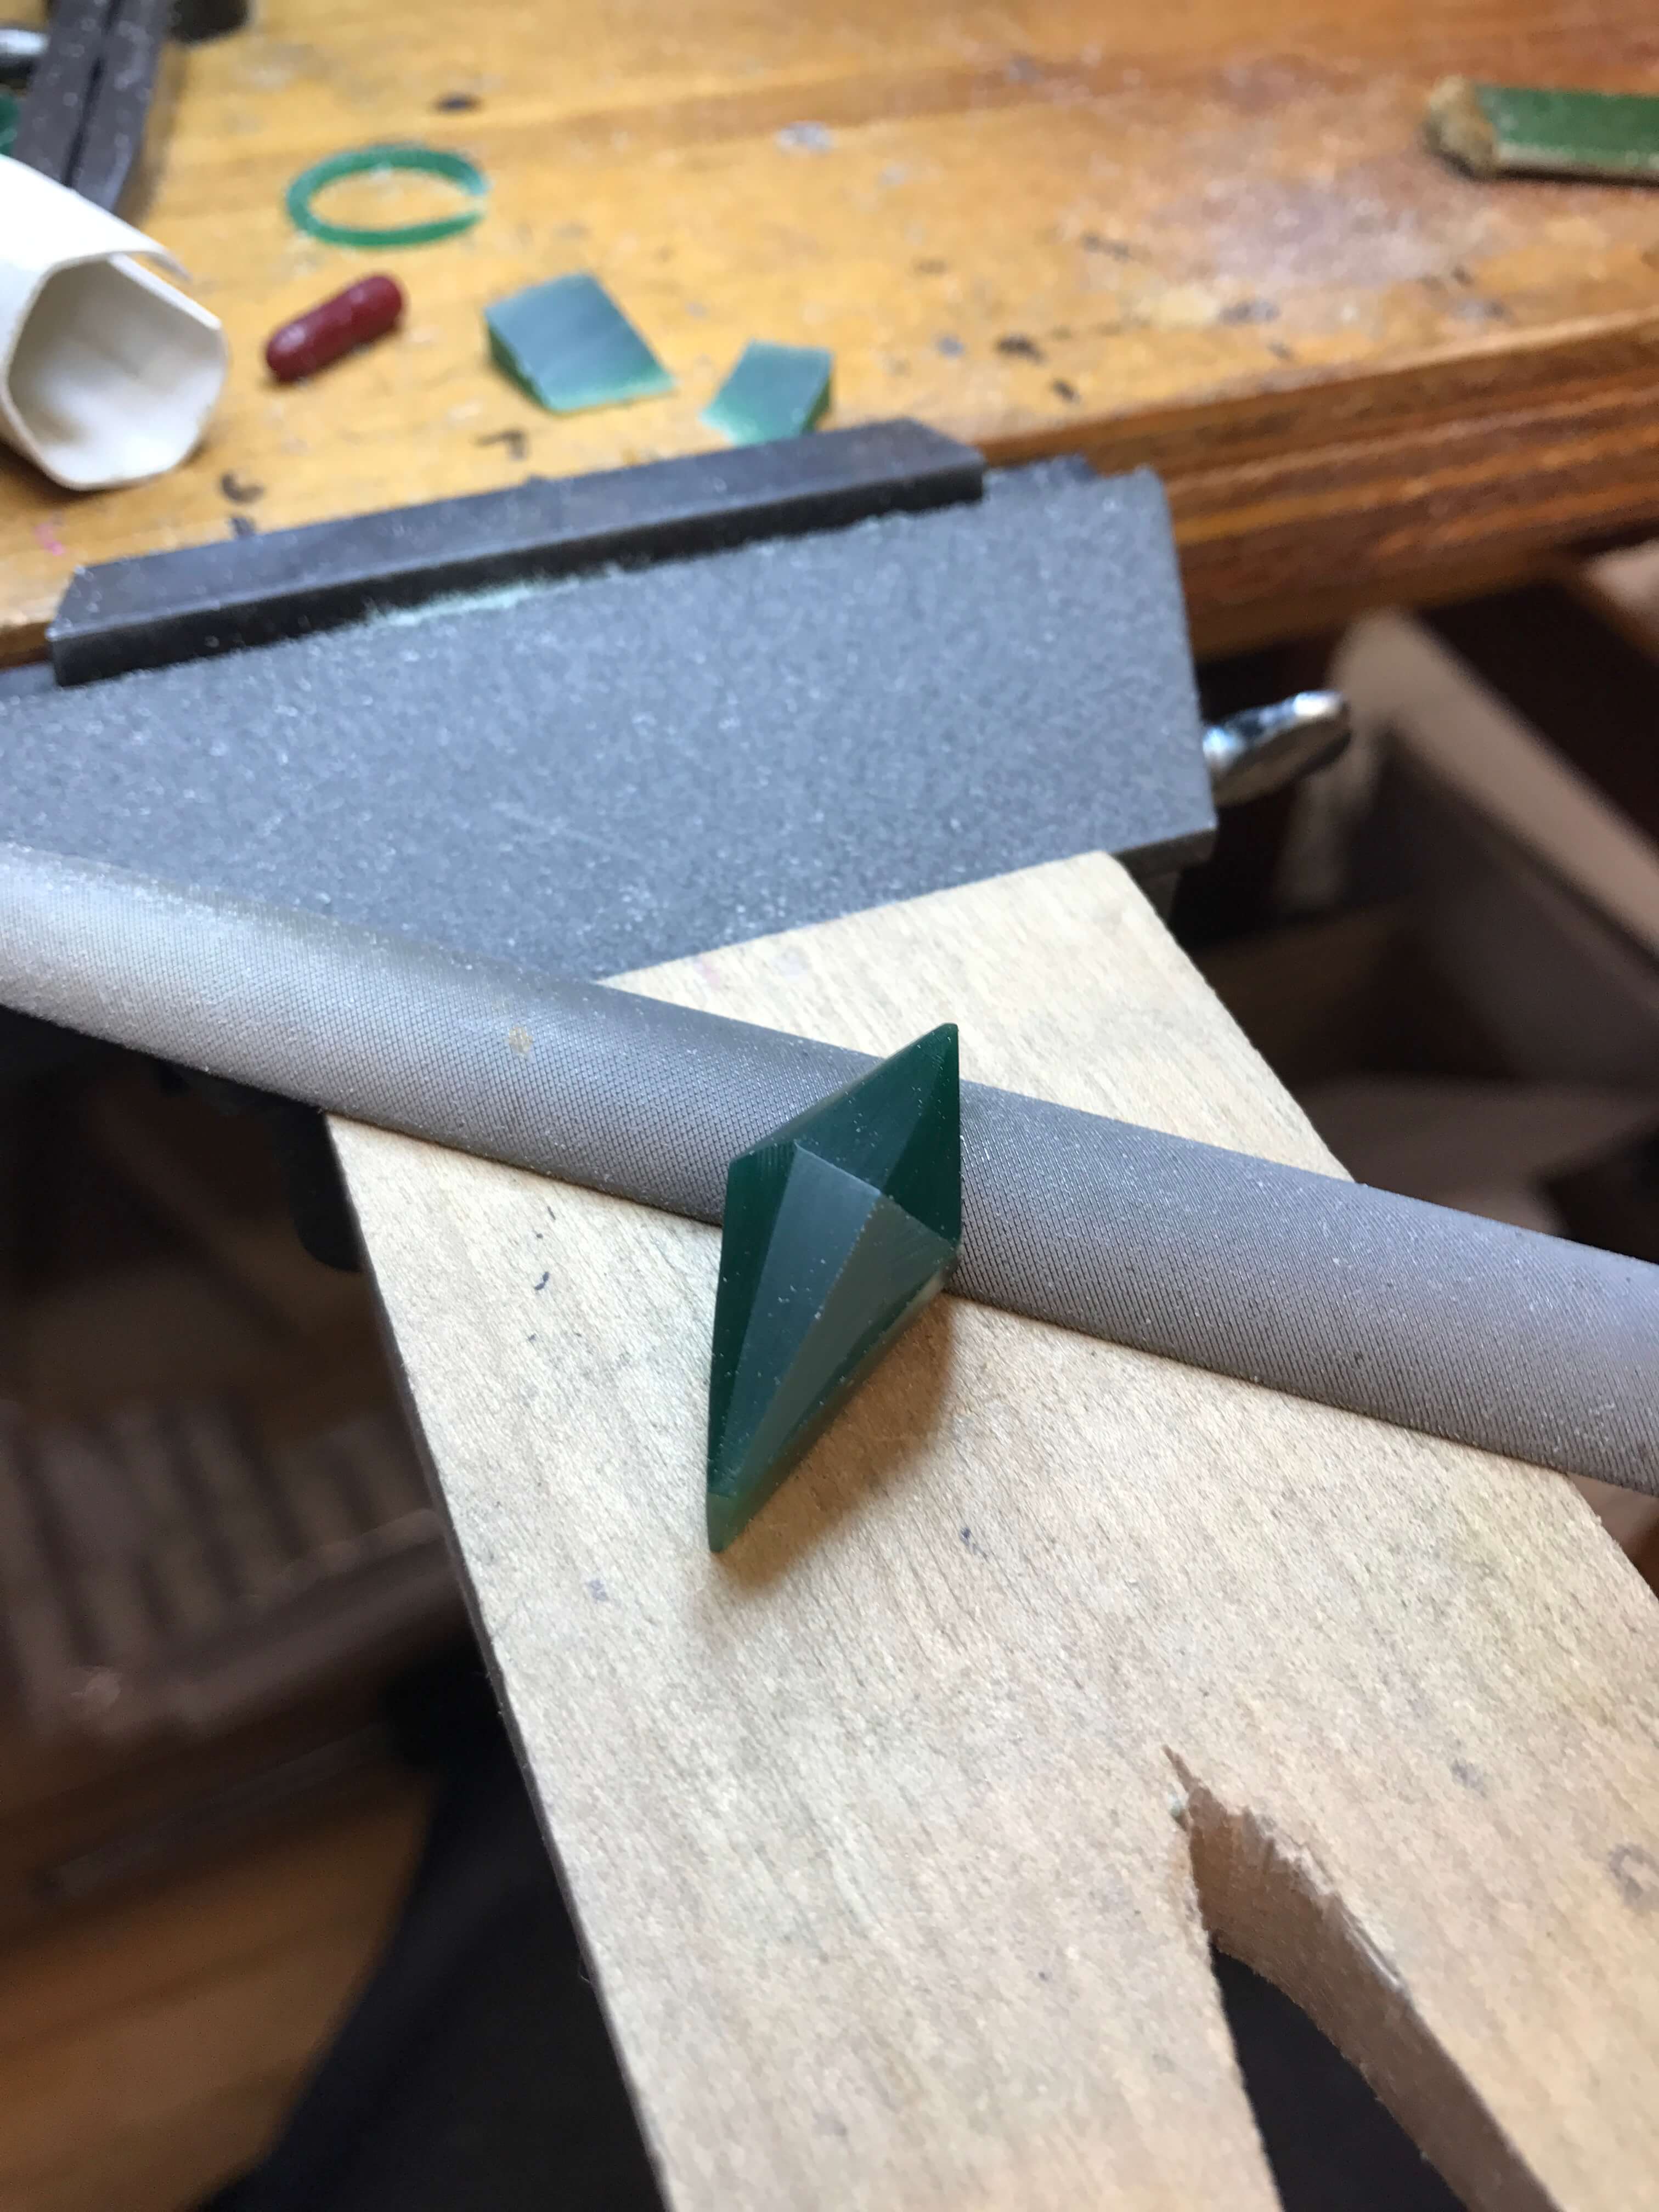
Once I was happy with the overall shape I needed to get the facets to match up and be perfectly flat. If I did it right then when they are polished it will look like a shiny crystal. I had to go slowly and stop often to check the facet I was working on. I wanted to make sure each edge was flat and the facets met up perfectly:
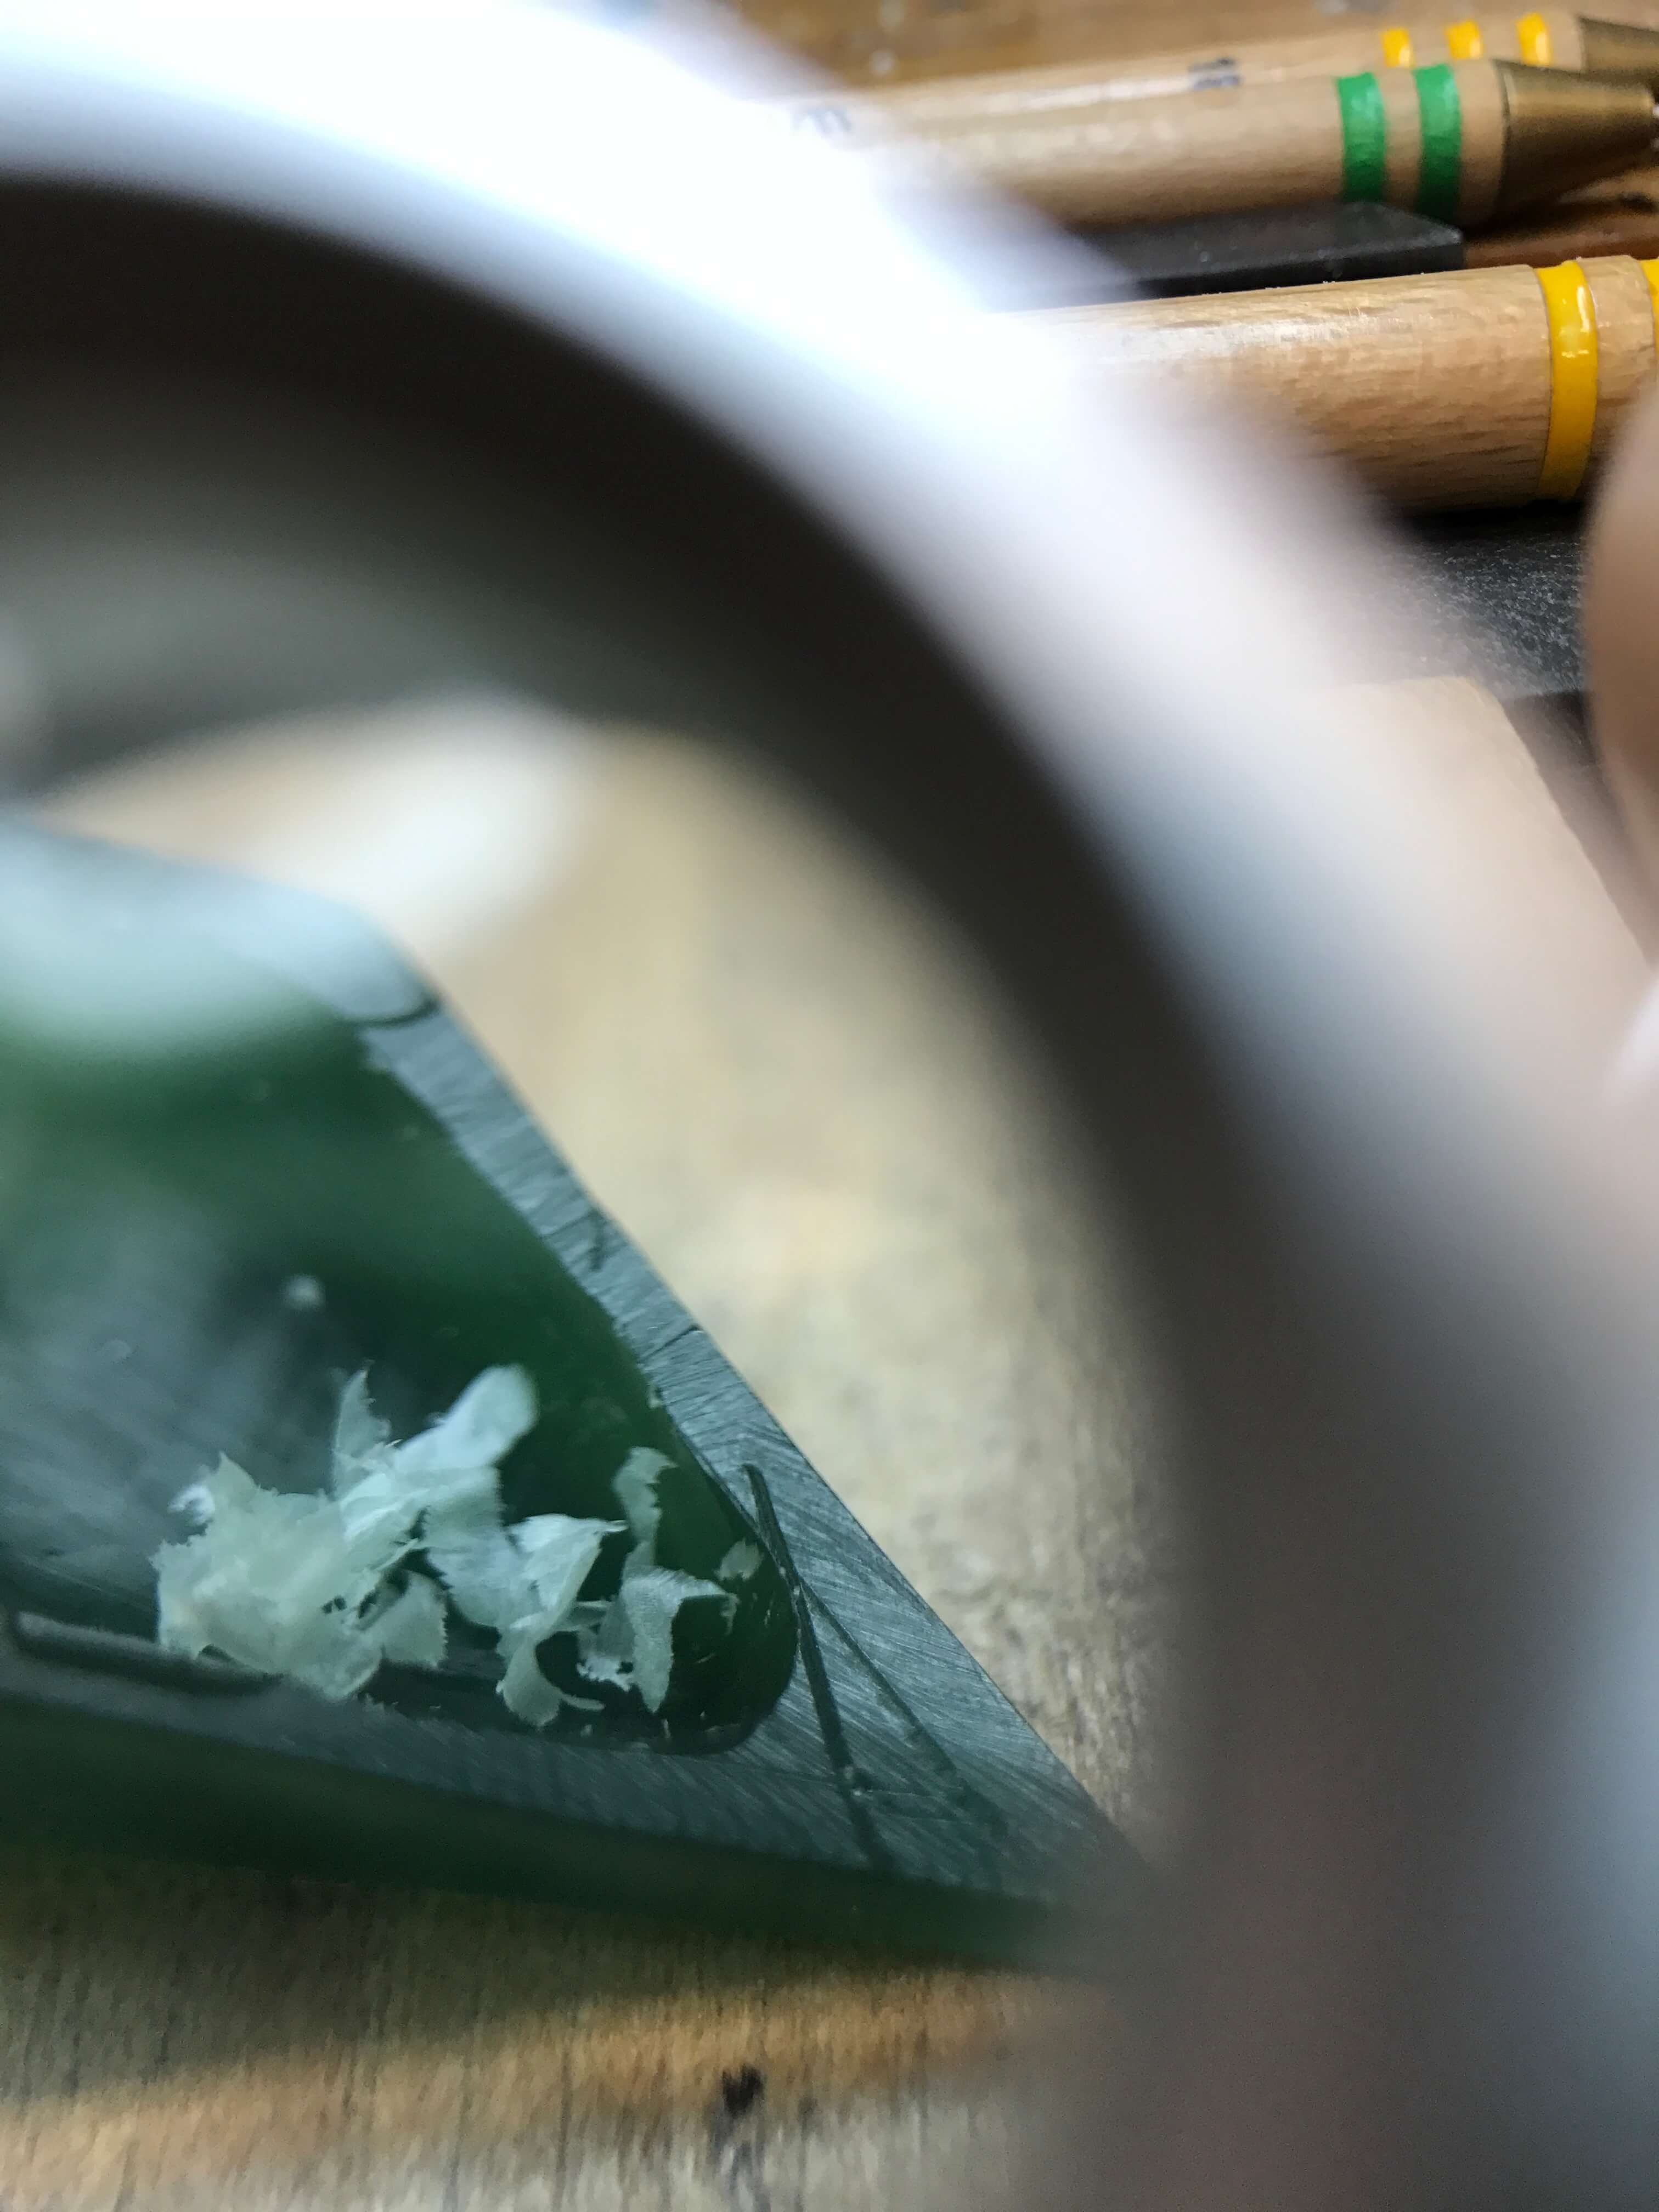
The pendant isn't finished yet. Oh no. I have to hollow out the back of it so that it's not a thousand pounds around your neck. Here's a close of of the wax curls that form when I use hand tools to smooth it out. I remove a tiny slice at a time in this final smoothing step. I didn't get a picture of the step right before where I use a rounded burr in my flex shaft (rotary motor) to remove a lot of wax at once. And I don't have 3 hands to take those pictures but it's fun and looks like a wax dust party when I'm done. So here are the wax curls. I took the picture through my 3x jewelers loupe which makes for a really cool picture:
And here's the back of the larger Pyramid pendant after I hollowed and smoothed it out, I drilled into the top to make the holes for the chain to slide through, you'll see that in the picture after this one:

And here's the finished wax model (with my rolling chair in the background because I'm amazing at image composition):

I repeated all the same steps to make the smaller version, don't they look so cute together? Also I used Kate Wolf's gold wax because I wanted to see what it would look like in gold:

I bet you're wondering how turns from wax into metal? I'll write a future article about the entire carving-to-finished-piece process later, in my How Jewelry Is Made series.